
th8320u1008 installation manual
The Honeywell TH8320U1008 manual provides essential guidance for installing, configuring, and maintaining your thermostat, ensuring energy efficiency and precise temperature control for optimal performance and user convenience.
1.1 Overview of the Thermostat and Its Features
The Honeywell TH8320U1008 is a touchscreen programmable thermostat designed for energy efficiency and precise temperature control. It features a user-friendly interface, programmable scheduling, automatic/manual changeover, and humidity control. Supporting up to 3 heat and 2 cool stages, it ensures compatibility with various HVAC systems, providing advanced comfort and energy-saving capabilities for residential use.
1.2 Importance of Following the Installation Manual
Following the Honeywell TH8320U1008 installation manual is crucial to ensure safe and correct installation, preventing potential damage or hazards. It provides step-by-step instructions, safety precautions, and system compatibility details. Adhering to the manual ensures optimal performance, avoids electrical risks, and guarantees the thermostat operates efficiently, adhering to safety standards and warranty requirements for a reliable and long-lasting solution.

Pre-Installation Requirements and Safety Precautions
Pre-installation requires disconnecting power to avoid electrical hazards. Ensure the installer is a trained technician to safely proceed with the setup and configuration of the thermostat.
2.1 Disconnecting Power Before Starting
Disconnecting power before installation is critical to prevent electrical shock or damage. Ensure the power supply to the HVAC system is completely turned off. Verify that the power is off using a voltage tester. This safety precaution is essential before handling any wiring or components. A trained technician should perform this step to ensure safety and compliance with electrical standards.
2.2 Tools and Materials Needed for Installation
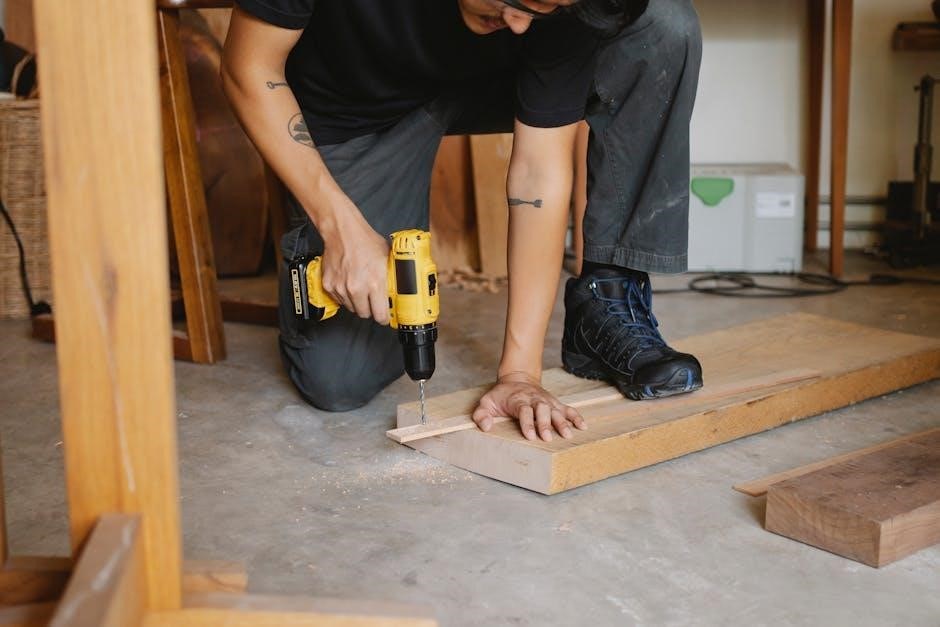
To ensure a smooth installation, gather the necessary tools and materials beforehand. A drill with 3/16″ and 7/32″ drill bits is required for drywall or plaster. You’ll also need screwdrivers (Phillips and flathead), a pencil for marking holes, and a voltage tester to confirm power is off. Additional materials include wall anchors and screws for mounting the wallplate. Having these tools ready will streamline the process and prevent delays;
Step-by-Step Installation Process
Separate the wallplate from the thermostat, mount it, drill holes for wiring, and connect the wires properly. Follow the sequence to ensure a successful setup.
3.1 Separating the Wallplate from the Thermostat
Grasp the top and bottom of the wallplate firmly and pull it away from the thermostat to separate it. Ensure the power is disconnected before starting this step to avoid any electrical hazards. This action allows access to the wiring and mounting area behind the thermostat. Carefully set the wallplate aside to prevent damage or misplacement.
3.2 Mounting the Wallplate
Mount the wallplate by aligning it with the desired position on the wall. Drill 3/16″ holes for drywall or 7/32″ holes for plaster, then secure the wallplate using the provided screws. Ensure the wallplate is level and firmly attached to the wall. This step prepares the surface for the thermostat installation and ensures proper alignment for wiring connections. Follow the manual’s diagrams for accurate placement.
3.3 Drilling Holes for Drywall or Plaster
For drywall, drill 3/16″ holes at the marked screw locations. For plaster walls, drill 7/32″ holes. Use a level to ensure accurate placement. Drill carefully to avoid damaging surrounding areas. These holes will secure the wallplate firmly, ensuring proper installation of the thermostat. Follow the manual’s guidelines for precise measurements and alignment to maintain stability and functionality. This step is critical for a secure and even mounting surface.
3.4 Connecting the Wiring and Ensuring Proper Connections
Ensure the power is off at the circuit breaker before connecting wires. Match the wires to their corresponding terminals on the wallplate, following the wiring diagram in the manual. Secure each wire tightly with the terminal screws. Double-check all connections for accuracy to prevent malfunctions. Proper wiring ensures safe and efficient thermostat operation, so refer to the diagram for specific terminal assignments and configurations. This step is crucial for system functionality and safety.
System Compatibility and Configuration
Ensure the Honeywell TH8320U1008 is compatible with various HVAC systems for different setups and configure settings according to the manual for optimal performance and energy efficiency.
4.1 Understanding Manual vs. Automatic Changeover
The Honeywell TH8320U1008 offers two changeover options: manual and automatic. Manual changeover requires switching between heating and cooling modes manually, while automatic changeover allows the thermostat to switch modes based on programmed temperature settings, enhancing convenience and energy efficiency. This feature adapts to temperature changes, potentially reducing the need for constant manual adjustments and optimizing HVAC system performance.
4.2 Configuring Heating and Cooling Stages
The Honeywell TH8320U1008 supports up to 3 heating stages and 2 cooling stages. Configuring these stages involves setting the installer options to match your HVAC system. Proper configuration ensures compatibility and optimal performance; The thermostat allows customization of stage settings to align with your system’s capabilities, enhancing energy efficiency and user comfort. Always refer to the installation manual for specific setup instructions tailored to your system type.
Programming and Advanced Features
Programmable schedules, vacation hold, and humidity control are key advanced features. Set custom temperature schedules and enable energy-saving modes to optimize comfort and efficiency effortlessly.
5.1 Setting Up the Programmable Schedule
The Honeywell TH8320U1008 allows you to create a programmable schedule for temperature adjustments throughout the day. Access the menu, select the day(s), and set the time and temperature for each period. This feature ensures energy efficiency by automating heating and cooling based on your routine. The thermostat will remember your settings, providing consistent comfort and reducing manual adjustments. Follow the on-screen instructions to customize your schedule effectively.
5.2 Enabling Vacation Hold and Humidity Control
The Honeywell TH8320U1008 features a Vacation Hold option, allowing you to set a temporary temperature during extended absences. This saves energy while maintaining comfort. Additionally, the thermostat offers humidity control, which can be enabled through the menu settings. Adjust the humidity levels to enhance indoor air quality and prevent moisture issues. These features can be programmed separately or integrated into your existing schedule for optimal performance.

Maintenance and Troubleshooting
Regularly clean the thermostat and check for error codes to ensure optimal performance. Refer to the manual for troubleshooting common issues and maintenance tips to prevent damage.
6.1 Cleaning the Thermostat for Optimal Performance
Regular cleaning is crucial for maintaining the thermostat’s functionality. Power off the device before cleaning to avoid electrical hazards. Use a soft, dry cloth to wipe the screen and exterior, ensuring no moisture enters the unit. Avoid harsh chemicals, as they may damage the display or internal components. Proper maintenance ensures accurate temperature sensing and smooth operation, extending the product’s lifespan and reliability over time.
6.2 Resolving Common Issues and Error Codes
Refer to the manual for troubleshooting specific error codes. Common issues include loose wiring or incorrect connections. Restart the thermostat after addressing electrical connections. If problems persist, check battery levels or ensure proper Wi-Fi connectivity. For unresolved issues, consult the detailed error code section or contact Honeywell customer support for further assistance and solutions to restore functionality effectively and efficiently.

Installer Setup and Wi-Fi Connectivity
Access installer options through the thermostat menu. Connect to a Wi-Fi network by entering the network password. Ensure a stable connection for remote access functionality.
7.1 Accessing Installer Options and Settings
To access installer options, navigate through the thermostat menu by pressing the touchscreen. Select “Installer Settings” and enter the password if prompted. This section allows configuration of system type, changeover settings, and stage options. Ensure all settings match your HVAC system specifications for proper operation. Refer to the manual for detailed instructions on each parameter.
7.2 Connecting the Thermostat to a Wi-Fi Network
Connect your Honeywell TH8320U1008 to a Wi-Fi network by selecting the “Wi-Fi Setup” option in the menu. Choose your network from the list, enter the password using the touchscreen keypad, and confirm. Once connected, the thermostat will update and enable remote access via Honeywell’s app. Ensure a stable internet connection for seamless functionality and smart home integration.
Battery Installation and Power Management
Batteries are optional for backup power if the thermostat runs on AC. Install fresh batteries immediately when the low-battery indicator appears for optimal performance.
8.1 Using Batteries for Backup Power
Batteries provide backup power during outages, maintaining thermostat settings. Install fresh batteries when the low-battery indicator appears. Use the recommended type for optimal performance.
8.2 Managing Power Settings for Energy Efficiency
Adjust power settings to optimize energy usage. Enable features like programmable schedules and automatic shutdowns. Set the deadband to reduce frequent heating/cooling cycles. Use vacation mode to conserve energy when away. Monitor and adjust settings via the thermostat interface or connected app for enhanced efficiency and cost savings.
Compliance and Warranty Information
The Honeywell TH8320U1008 complies with safety standards and includes a warranty covering defects in materials and workmanship. Proper installation by a trained technician is required to maintain warranty validity.
9.1 Ensuring Compliance with Safety Standards
Compliance with safety standards is critical for safe installation and operation. The Honeywell TH8320U1008 must be installed by a trained technician to avoid electrical hazards. Always disconnect power before starting and ensure the product’s ratings match your system. Failure to follow instructions can damage the product or cause hazardous conditions, emphasizing the importance of adhering to safety guidelines for optimal functionality and user safety.
9.2 Understanding the Product Warranty
The Honeywell TH8320U1008 warranty ensures protection against defects in materials and workmanship. Coverage typically lasts for a specified period, provided the product is installed correctly by a qualified technician. Improper installation or tampering voids the warranty. Review the warranty terms for details on eligible repairs and replacements, ensuring your investment remains protected under Honeywell’s support policies.

Additional Resources and Support
- Access comprehensive installation guides, manuals, and troubleshooting resources online.
- Contact Honeywell customer support for technical assistance and inquiries.
- Download the full PDF manual for detailed instructions and specifications.
- Visit Honeywell’s official website for additional support materials and FAQs.
10.1 Accessing the Full Installation Guide
The full installation guide for the Honeywell TH8320U1008 is available for free download as a PDF from Honeywell’s official website. This comprehensive guide includes detailed step-by-step instructions, diagrams, and troubleshooting tips to ensure a smooth installation process. Users can access it by visiting the support section and searching for the specific model number. The guide is essential for installers to understand all features and configurations.
10.2 Contacting Honeywell Customer Support
For assistance with the Honeywell TH8320U1008, contact customer support via phone, email, or through the official website. Support representatives are available to address installation, programming, or troubleshooting issues. Visit the Honeywell website for contact details and additional resources, ensuring professional guidance for optimal thermostat performance and resolving complex installation or operational challenges effectively.